Portrait photography is probably the most popular kind of photography. Even snapshots are mostly of people, like hasty portraits. And it’s not surprising, people want a visual record of their family and friends. The most called images are those that capture the subjects personality.
Following are details to the keys of portrait photography.
Lens selection
A medium telephoto or zoom lens of 35mm to 105mm is a great choice for head or head and shoulder photographs. The greater the focal length of a len’s the narrower it’s depth of field, which can be used to blur the background causing your subject to pop out. A moderate wide angle is a good choice for full length (head to toe) and environmental portraits so long as you’re not too close to your subject, otherwise there will be unwanted facial distortions.
Background
The center of attention in a portrait is the person being photographed. For that reason a subdued or blurred background should be used. You can take the emphasis of the background with selective focus by controlling depth of field with a wide aperture like f/4 or f/28. Also, when using a flash, keep your subject 5 or 6 feet away from the background to avoid harsh shadows.
Lighting
In general, the lighting for men is different than four women. A strong directional light is used to emphasize the masculine features of men. A diffused, soft light is more flattering for women. There are a variety of affordable accessories, such as reflectors and diffusers, you can use to control the light. These accessories are useful for controlling natural light and strobes. For best exposure use your light meter on the area of the face that is highlighted.
Using flash (a.k.a., strobe)
Nearly all the DSLRs available today have a built in flash which can capture nice images. But using an accessory flash will give you more flexibility. One of the things you can do by using an accessory flash is soften the light by bouncing it off the ceiling or wall. An accessory flash can also be mounted to a light stand and used with an umbrella or diffuser creating near studio quality lighting. Other attachments that are useful for portrait photography can be used as well, like a snoot or soft box.
Whatever your light source is, make sure your subject’s eyes are lit well so they sparkle with catch lights (the reflection of the flash in their eyes. Your subject’s pupil size will vary with the light. Brighter light and smaller pupils are preferred because the smaller the pupil the larger the iris. It’s the iris that gives the eye it’s color. So the bigger the iris, the more colorful the eye!
Posing
Volumes of books have been written about posing. From studio sittings to environmental portraits, and everything in between. But it all boils down to a basic guideline:
The best pose makes the subject look natural, comfortable, and relaxed.
This means putting your subject in a position that’s comfortable, emphasizing their attractive features while minimizing their less attractive features.
Lines play an important role in portraits too. A more dynamic pose is created when a triangle is formed by the shoulders, arms, and legs. Having your subject’s at an angle is more flattering and dynamic than when they are sitting upright at attention.
Props
Proofs are used to renewal a little more about your subject, perhaps something to hint at a hobby or their profession. Props also give adults something to do with their hands and provide a distraction from the camera for children. Just remember a prop should compliment the subject without being a distraction itself.
Build rapport
No matter how well you manage the lighting, or how stoking the pose, a portrait can still fall if you haven’t made a positive connection with your subject. The time you spend building a good a relationship with your subject will be rewarded in your final pictures.
Get you subject talking about their aspirations, interests, and dreams before you begin photographing. Then try to setup poses based on what you have learned. Perhaps incorporate some props that speak to your subject.
Remember to have. Not all portraits have to be formal.
Tips for portrait photography
- Have a list of possess ready before you begin. Your subject may feel uncomfortable in front of your camera. Having a list of possess ready will minimize the time needed for set changes.
- Frame your subject. Unless your going for a particular look, keep your subject’s head in the upper third of the frame.
- Focus. Always focus on the subjects eye that is closest to you… unless you’re going for a particular look.
- Capture multiple images of key possess. Things can happen. Something as an unfortunately timed blink of the eye can ruin an otherwise great image. If you took just one photograph you wouldn’t have a backup image and that pose would be lost.
- Use natural expressions. It’s always nice if your subject will smile naturally. But a portrait without a smile can be just as effective. Maybe more effective than a portrait with a forced, fake, smile.
- Create a flattering pose. You can reduce neck wrinkles and thin out your subject’s con by having them lift their head up and move it forward, like a turtle.
- Keep talking. Keep the conversation going. Use friendly chitchat to keep you subject at ease, then work in some direction during your session.
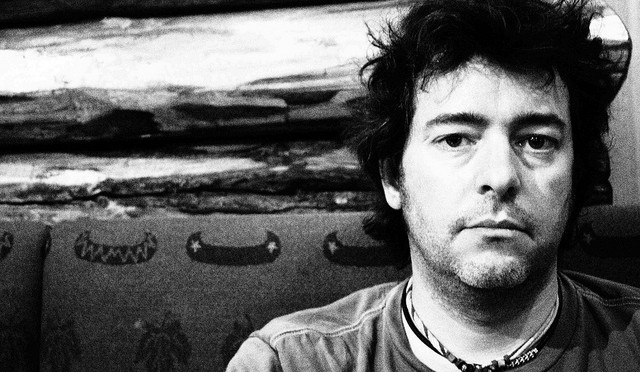
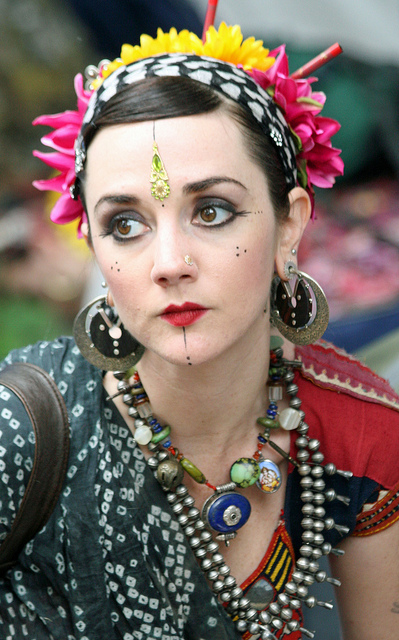
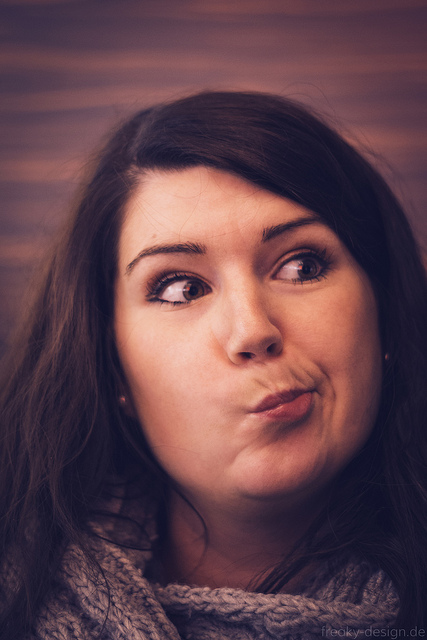
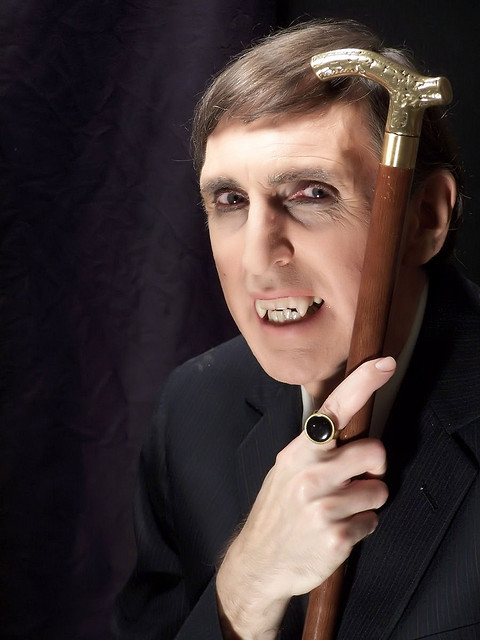
Photo Credits
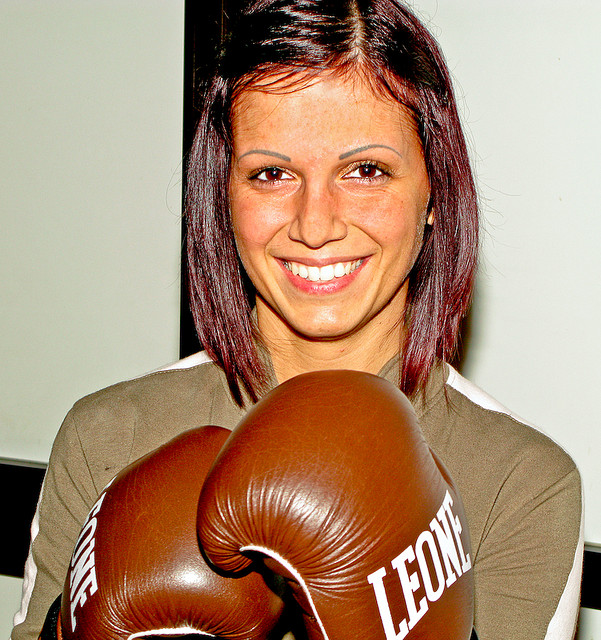
The photographs on this page are Creative Commons 2.0 License images. My thanks to the contributors.
